
November 2025
Saturday Sales!
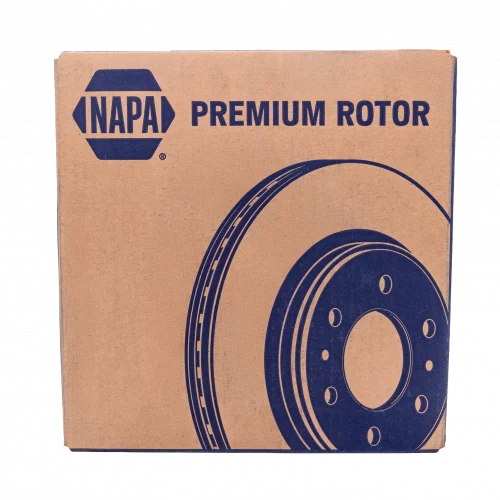
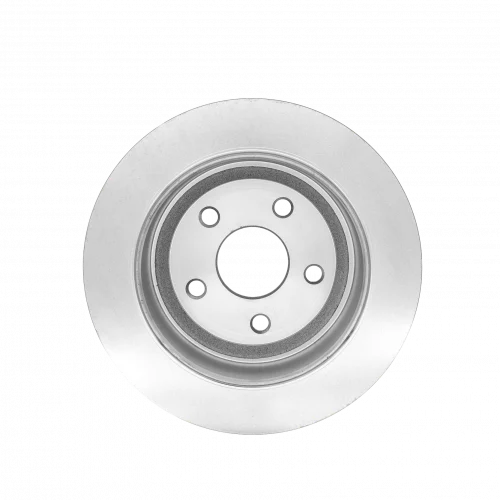
Available at Our Pullman, Colfax, and Potlatch Stores
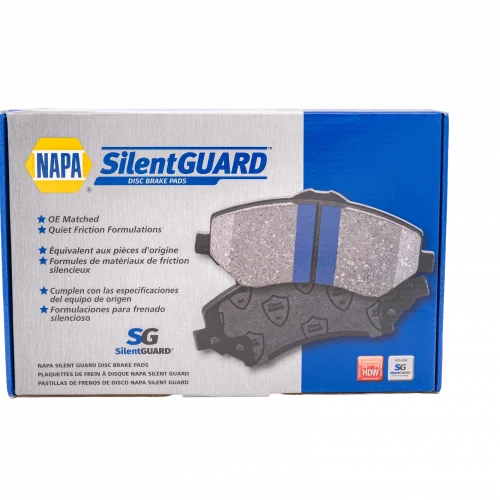
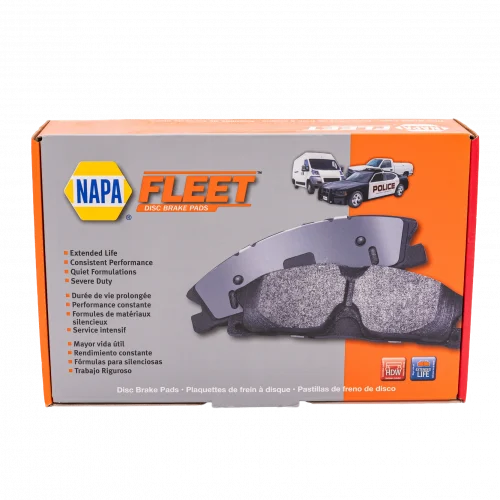
Get $20 Off when you buy NB Rotors and Fleet OR Silent Guard Brake Pads
In-Store Retail Customers Only!
Changing Your Oil
Changing your vehicle’s engine oil (also called motor oil) is not a difficult task, but it is one that must be done properly. Learn how to change oil by following these steps. A correctly performed oil change extends your vehicle’s life while keeping you and the environment safe.
Things you'll need from your garage or your local NAPA Auto Parts store:
*Check your owner’s manual for your vehicle’s oil capacity. Some vehicles take up to 15 quarts!
**If you plan to change your oil regularly, consider investing in a small tool set, an oil filter wrench set, a quality floor jack and jack stands.
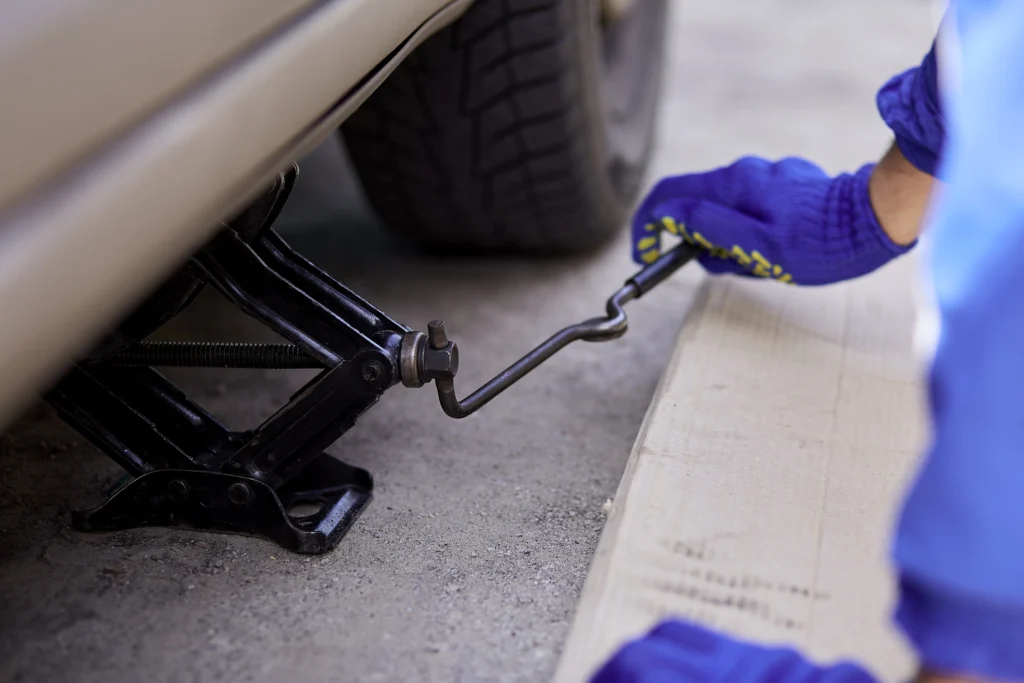
Step 1:
Park Your Car on a Level Surface and Apply Parking Brake.

Step 2:
Jack Your Car Up and Place It on Jack Stands.
A jack alone will not safely support the full weight of your car. Consult your manual for the proper jacking points. The placement of a jack stand is just as important as the jack placement. The wrong placement can damage your car’s suspension or body parts.
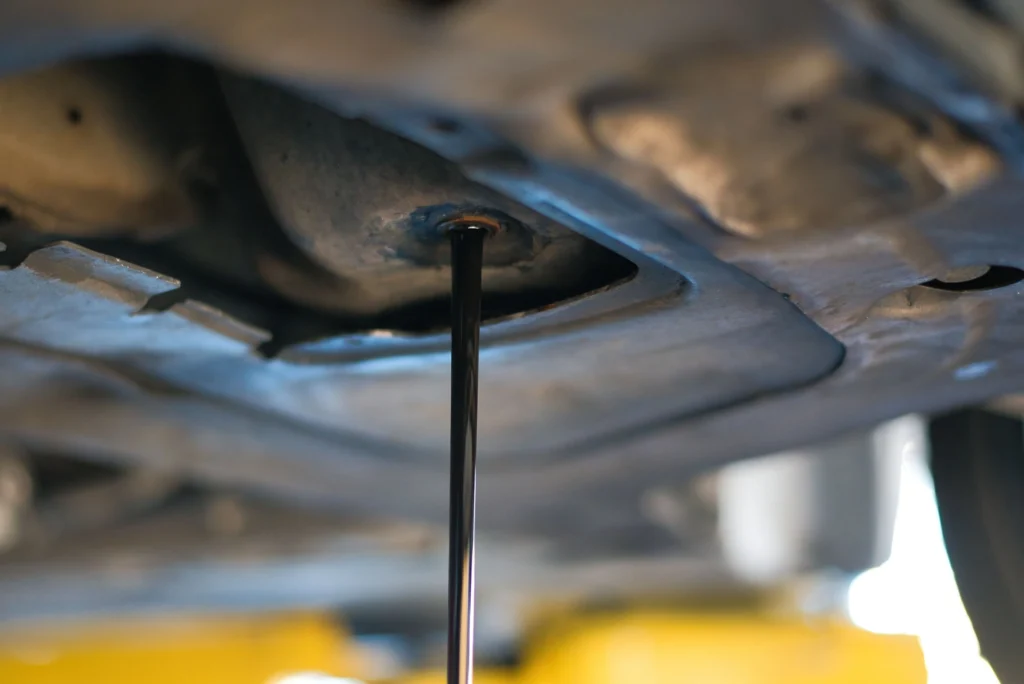
Step 3:
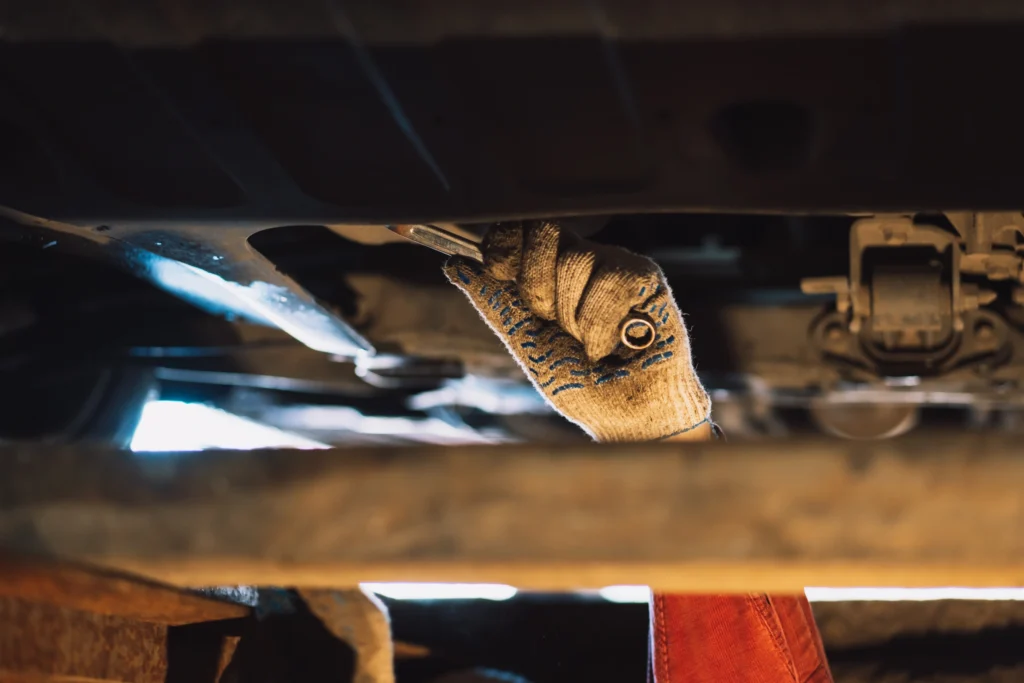
Locate the Oil Drain Plug and Place the Drain Pan Below.
The oil drain plug is usually near the front center of the engine, but some vehicles have more than one plug. Check your manual for the exact location. Loosen the plug with a socket or wrench. Make sure that the drain pan is large enough to hold up to six quarts of oil or more. The oil drains at an angle, so position the drain pan to catch it.

Step 4:
Unscrew the Plug by Hand.
Remove the plug by hand. While unscrewing the plug, push it back towards the vehicle. This keeps oil from rushing out until you are ready to remove the plug from the hole.
Step 5:
Drain All Oil.
To speed up the draining process, remove the filler cap located on the top of the engine and allow air to enter from the top. Check your owner’s manual for the exact location.
Step 6:
Replace Oil Plug.
Tighten the oil plug by hand and ensure it is not cross-threaded. Once the plug is snug, finish tightening it with a wrench or by hand. Always use a new drain plug gasket and never over-tighten the drain plug.
Step 7:
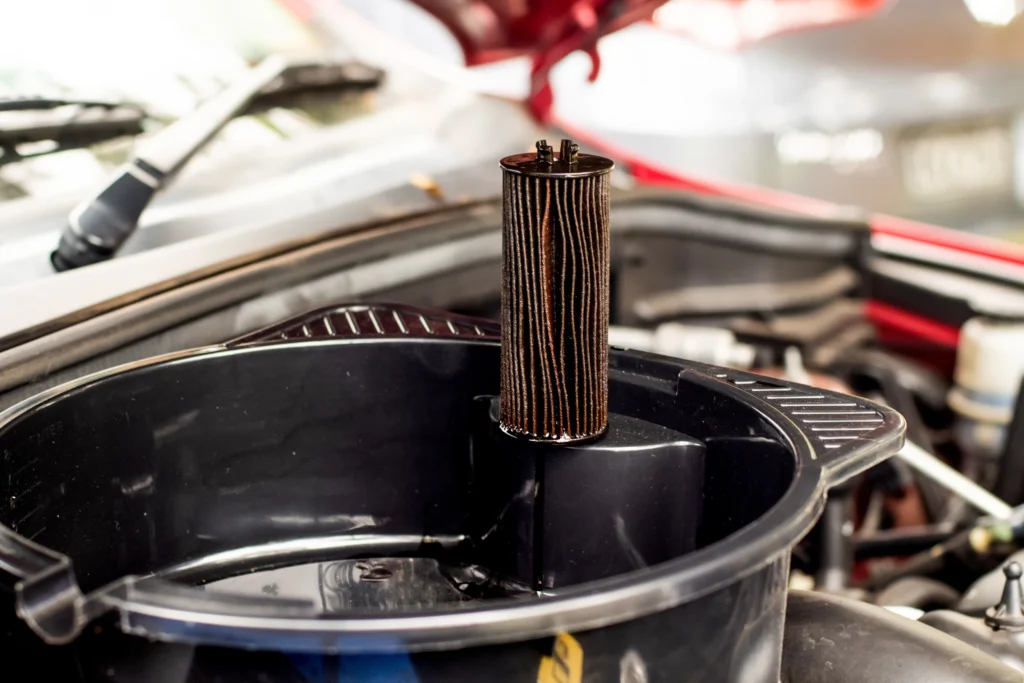
Remove Existing Oil Filter.
Place the oil pan underneath the old filter to catch any remaining oil while unscrewing it. Remove the old filter using an oil filter wrench. Use a rag to clean the mounting surface. Make sure that the sealing O-ring from the old filter is not stuck to the mounting surface on the engine.
Note: Some vehicles use remote mounted oil filters that may be on top or on the side of the engine.
Step 8:
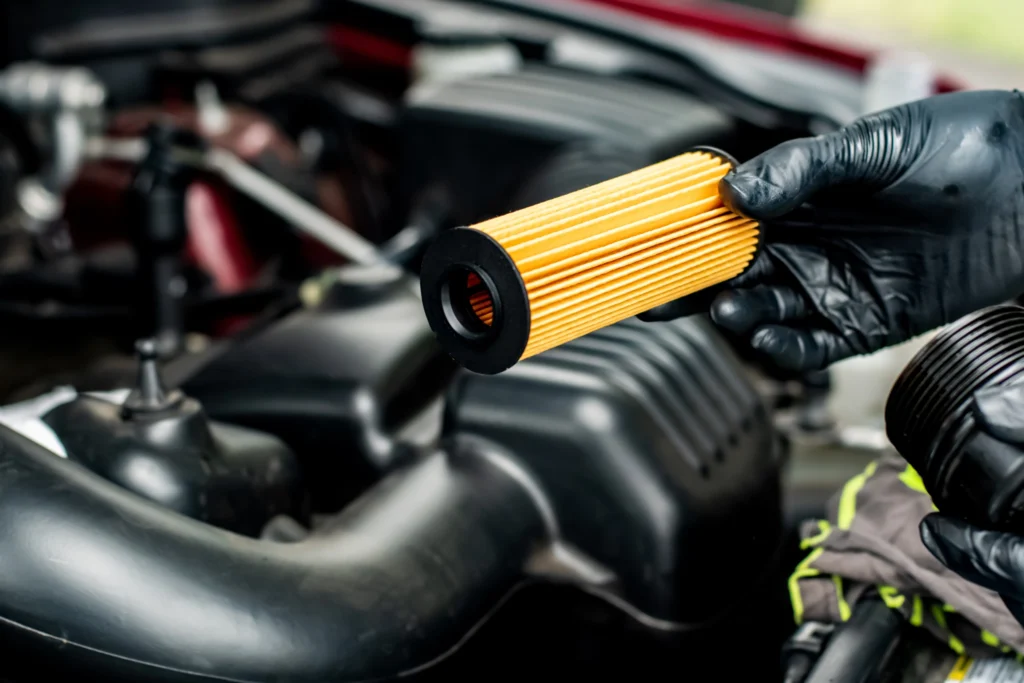
Lubricate New Filter and Screw into Place by Hand.
Step 9:
Clean the Oil Filter Neck and Pour in the New Oil Using a Funnel.
Typically, you will use up to six quarts of oil, but check your manual for your vehicle’s oil capacity. Fill to three-quarters of the engine’s capacity to avoid overfilling, as there is always oil that does not drain. Then replace the cap.

Step 10:
Run the Engine for a Few Minutes to Make Sure There Are No Leaks.
Step 11:
Dispose of the Used Oil Properly.
Just like used car batteries, there are many government regulations around disposing of used motor oil. Nearby city or county recycling centers may accept used oil for a small fee or at no charge. Or, you can contact your nearest NAPA Auto Parts store to see if they accept used oil. Many NAPA Auto Parts stores and NAPA Auto Care centers recycle motor oil, gear oil, transmission fluid, power steering fluid and even oil filters.
Properly Storing Used Oil for Recycling
Motor oil that has been mixed with other fluids is NOT recyclable. Make sure your storage container has never been used to store other fluids at ANY point.
Proper Storage Containers:
- Original Oil Container
- Polyethylene or Other Suitable Plastic Container
- Sealed Oil Pan
Do Not Use:
- Milk Cartons
- Empty Juice Containers
- Other Random Containers Around Your House
Keep your oil in a cool, dry space where it won’t be disturbed until you can drop it off at your local recycling facility.
Replacing Your Wiper Blades
Visibility is extremely important to safe driving. If your current windshield wipers are not wiping well or leaving streaks, change them immediately.
Learning how to replace wiper blades is simple. You may be able to change your wiper blades without any hand tools.
If not, here are the items you may need from your garage or your local NAPA AUTO PARTS Store:
- Replacement wiper blades (usually packaged with wiper rubber and support structure)
- Tape measure
- Small pocket screwdriver
- Needle-nose pliers
- Anti-seize compound (optional)
Step 1:
Visit NAPA AUTO PARTS for the correct wiper blade replacement.
Your NAPA Auto Parts sales associate can help you find the correct wiper blade replacement for your year, make and model, or you can take one of your old blades into the store. Some vehicles use different length wiper blades on the driver’s side versus the passenger’s side. For vehicles with a rear wiper, consider changing this blade at the same time.
Step 2:
Pull the wiper arm up and away from the car.
The blade and arm should now be sticking out perpendicular to the window. Some wiper arms will only come up two or three inches from the windshield. If your wiper arm only comes up a small amount, don’t force it. There should be a locking tab at the base of the wiper that will lock it in the raised position.
Step 3:
Match the existing connector to one of the connectors provided with the new blade.
The attachment is where the arm and blade meet. There are several styles of attachments. The three most common are the hook-slot connector, pin-type arm and straight-end connector. Replacement blades typically include a variety of connectors.
Hook-slot connector:
Swing the blade perpendicular to the arm so you can see the connector. You’ll find a tab at the connector that needs to be lifted or pushed to release the lock that holds the blade pivot in the hook slot. Once the tab is released, a firm shove toward the base of the arm will slide the blade out of the hook slot.
Pin-type arm:
Raise the arm and examine the locking tab that holds the blade onto the pin. You’ll either have to push the tab up from underneath the blade or lift the tab from the top with a small, flathead screwdriver. Once the tab unlocks the pin, pull the blade assembly with a sideways motion away from the arm. The new unit may simply lock onto the pin, or the new blade may include an adapter that locks into the blade opening and accepts pins in different sizes.
Straight-end connector:
The straight-end connector can be tricky. Sometimes you need to lift a tab on top of the existing blade with a screwdriver to clear the locking nub on the arm. You may also need to cock the old blade a few degrees out-of-parallel with the arm to slide it off the arm’s end.
Step 4:
Remove the windshield wiper blade from the arm at the attachment.
Depending on the connector type, remove the blade as outlined above. Once the old blade is off, you can apply a little anti-seize compound to the arm.
Step 5:
Install the new blades fitted with the proper connector.
With the new blade in place, lower the wiper arm. Test the wipers by turning on the wipers, using water or the windshield washer to lubricate the surface of the glass. If the blades slip, turn off the wipers and seat the attachments more firmly.
Important Tips:
- It is better to replace the whole wiper blade, not just the rubber part.
- If your car has wipers that park behind the lip of the hood, turn on the ignition and the wipers and then shut off the ignition when the wipers are mid-stroke so you can access them.
- Changing wiper blades for the first time has been known to cause extreme frustration—contact your local NAPA Auto Care center if you are having trouble.
- Don't let the windshield wiper arm snap back against the windshield when there is no blade attached; this can crack the windshield. Lay a clean rag on top of the windshield to protect the glass in case the bare-metal wiper arm suddenly snaps down on the windshield's glass.
- Clean your glass regularly, including before installing your new blades. This will minimize the buildup of foreign materials on the blades, improving the longevity of your windshield and wiper blades and ensuring good visibility.